QGIS integration
QGIS provides a plugin called Omec Plugin, which allows users to access LandMetric STAC services. This plugin is designed to provide straightforward access to OEMC and other STAC services, enabling different user communities to access various spatial layers and conduct integrated, customized analyses in an open-source environment.
Instead of downloading spatial layers individually and manually loading them into QGIS, you can use this plugin to simplify the process.
Install Omec Plugin
Before using the plugin, you need to install it in QGIS.
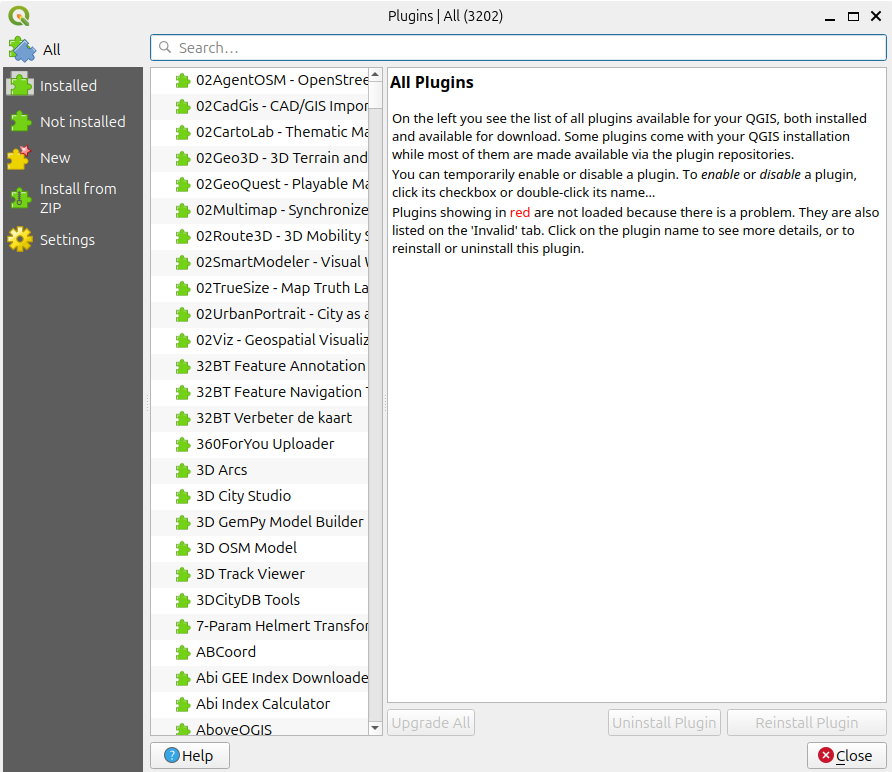
Go to Plugins in the top menu and select Manage and Install Plugins. This will open the plugin management window, where you can search for and install QGIS plugins. 
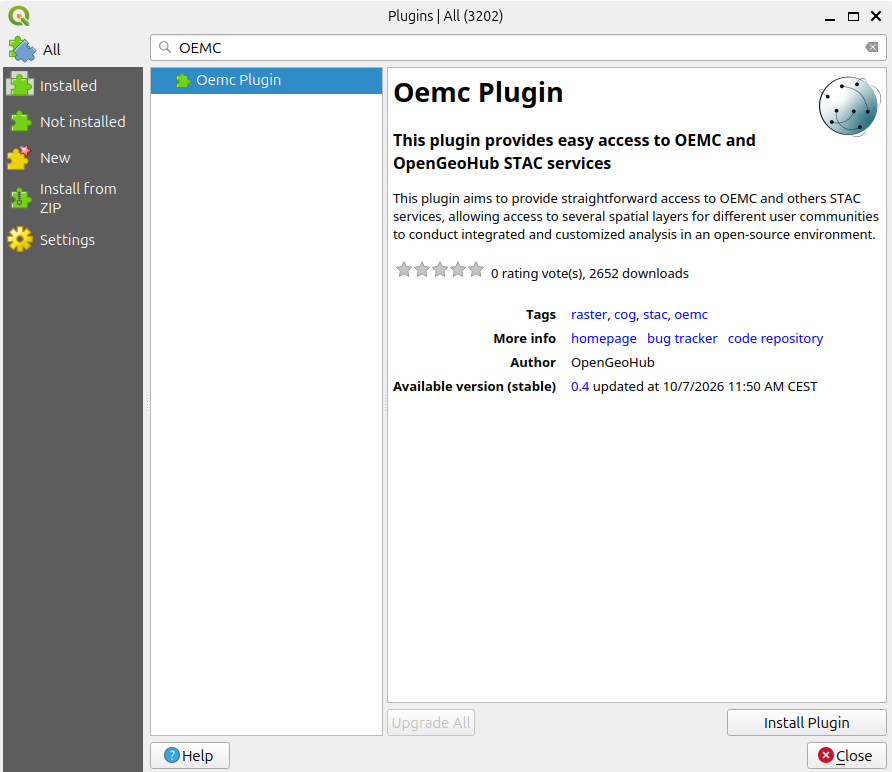
Enter Omec Plugin in the search box. Once you find it, you can view its description and other information. Click Install Plugin in the bottom-right corner to install it. Once the installation is complete, click Close.
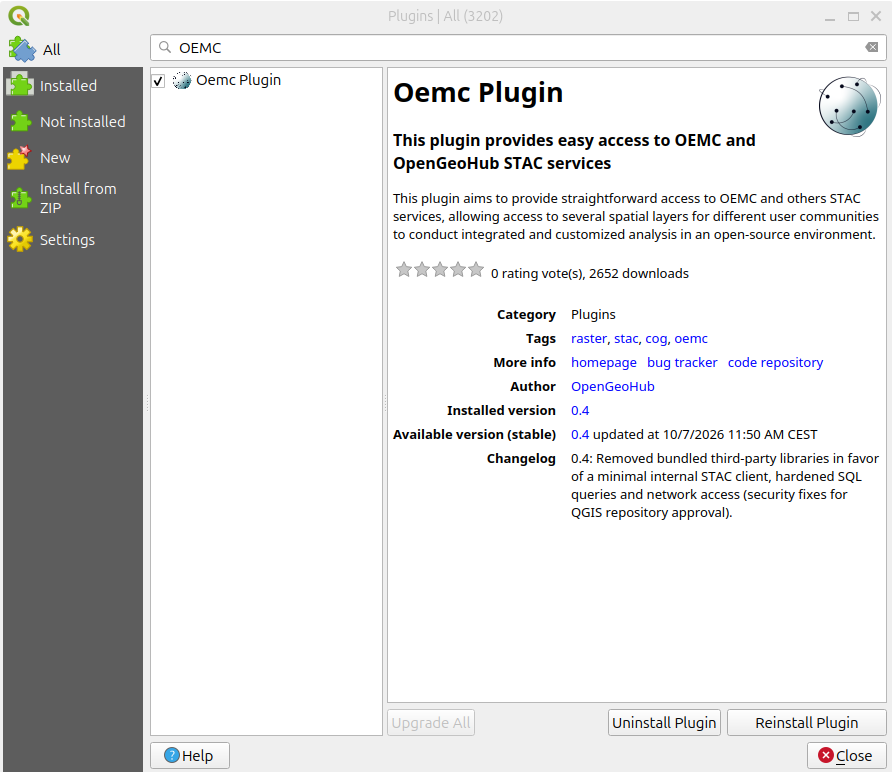
After successful installation, you should see the Omec Plugin icon in the QGIS toolbar. 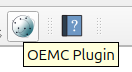
Access data use Oemc Plugin
Click the Omec Plugin icon to open the plugin panel. Right-click Catalog to view the available services. The plugin supports not only LandMetric but also other STAC services. 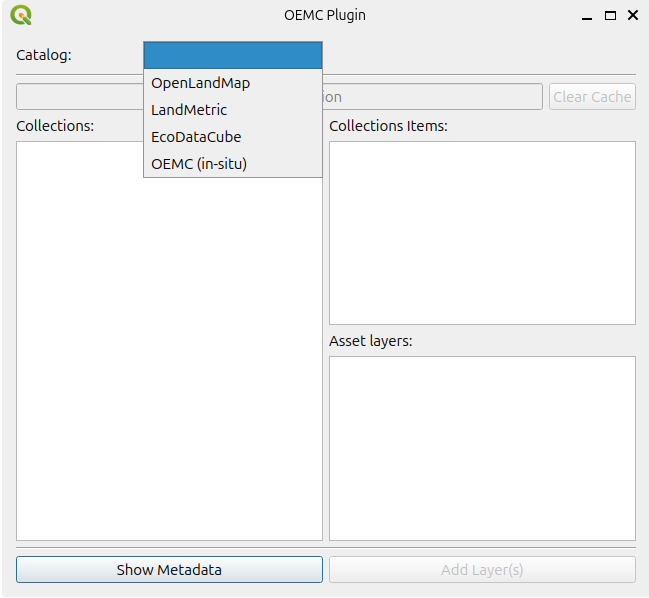
Select LandMetric to browse all the spatial layers available through the LandMetric STAC service. 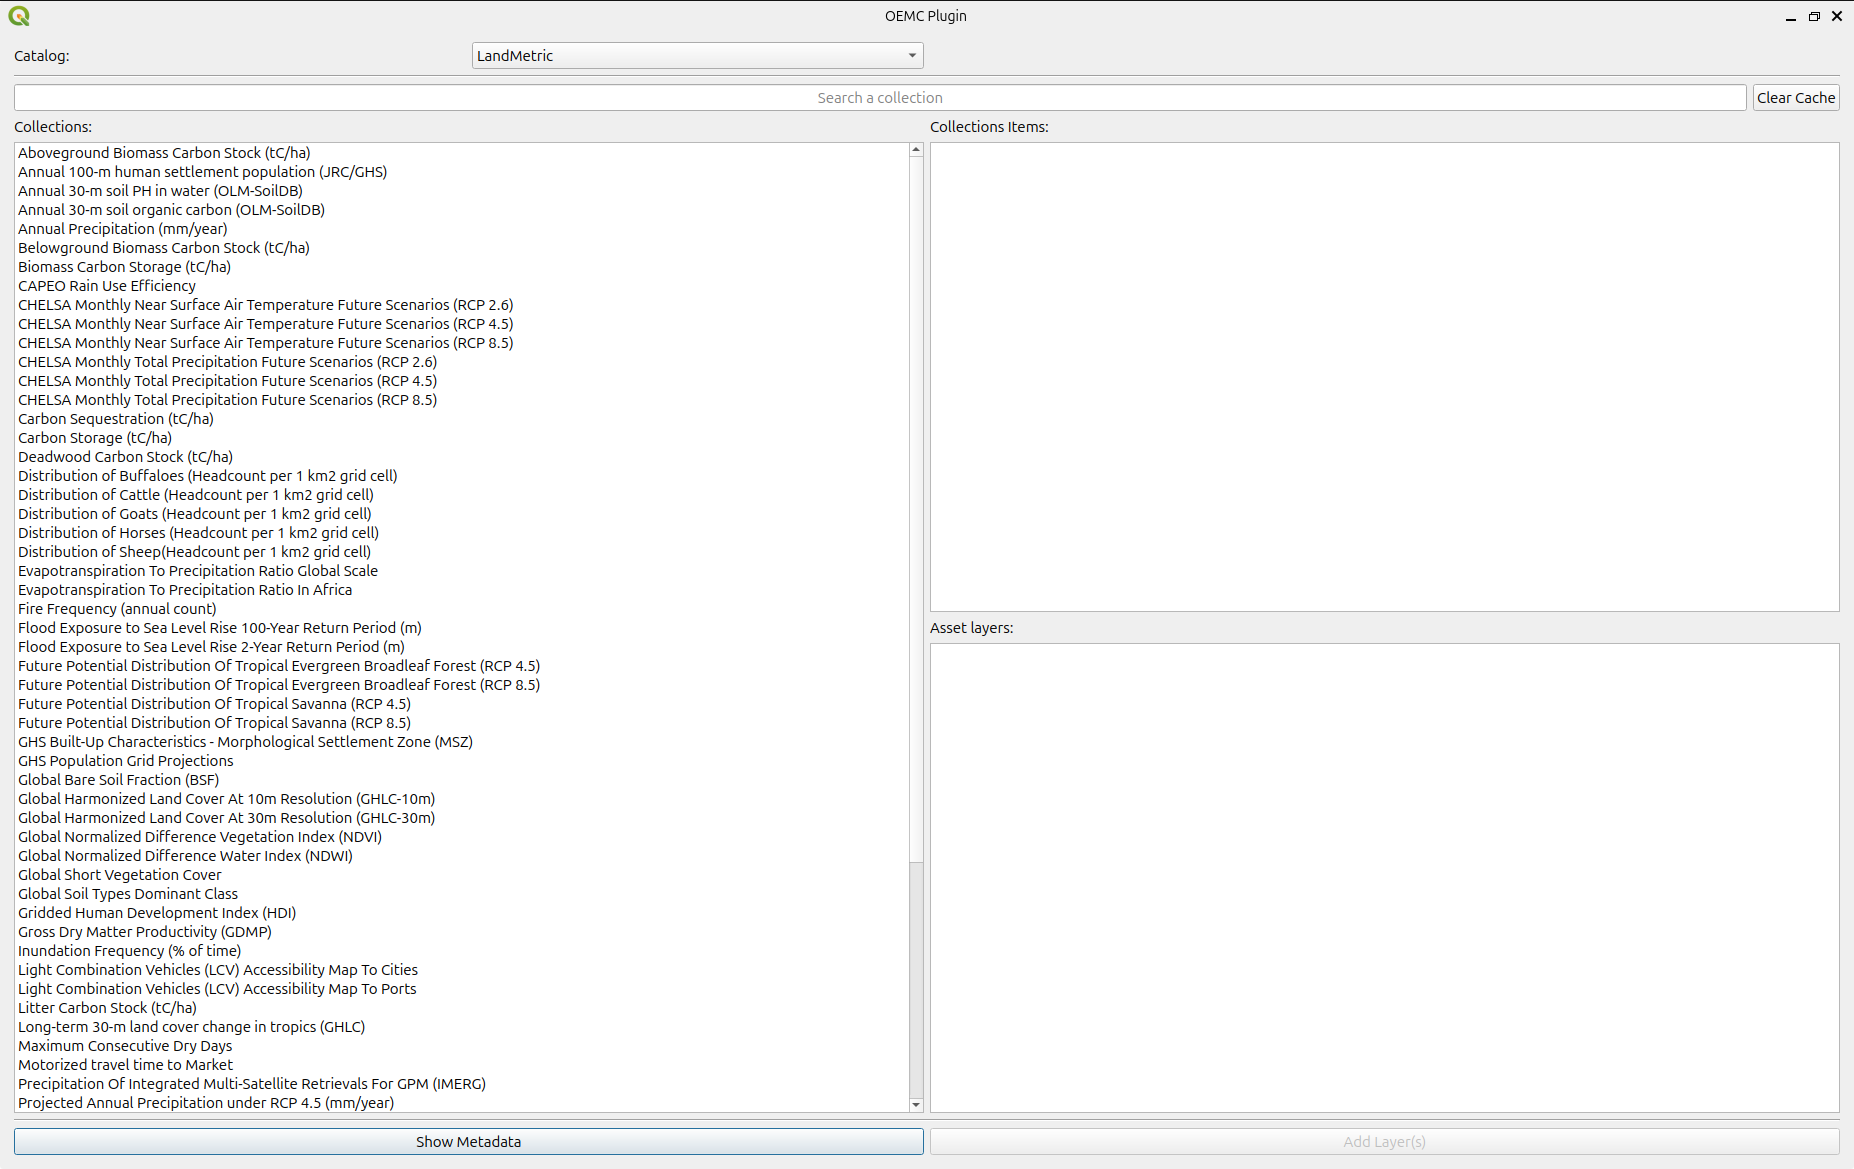
Let's take Aboveground Biomass Carbon Stock (tC/ha) as an example.
Select this layer from the catalog. If you want to explore its metadata, click Show Metadata at the bottom of the panel. This will display detailed information about the selected layer. 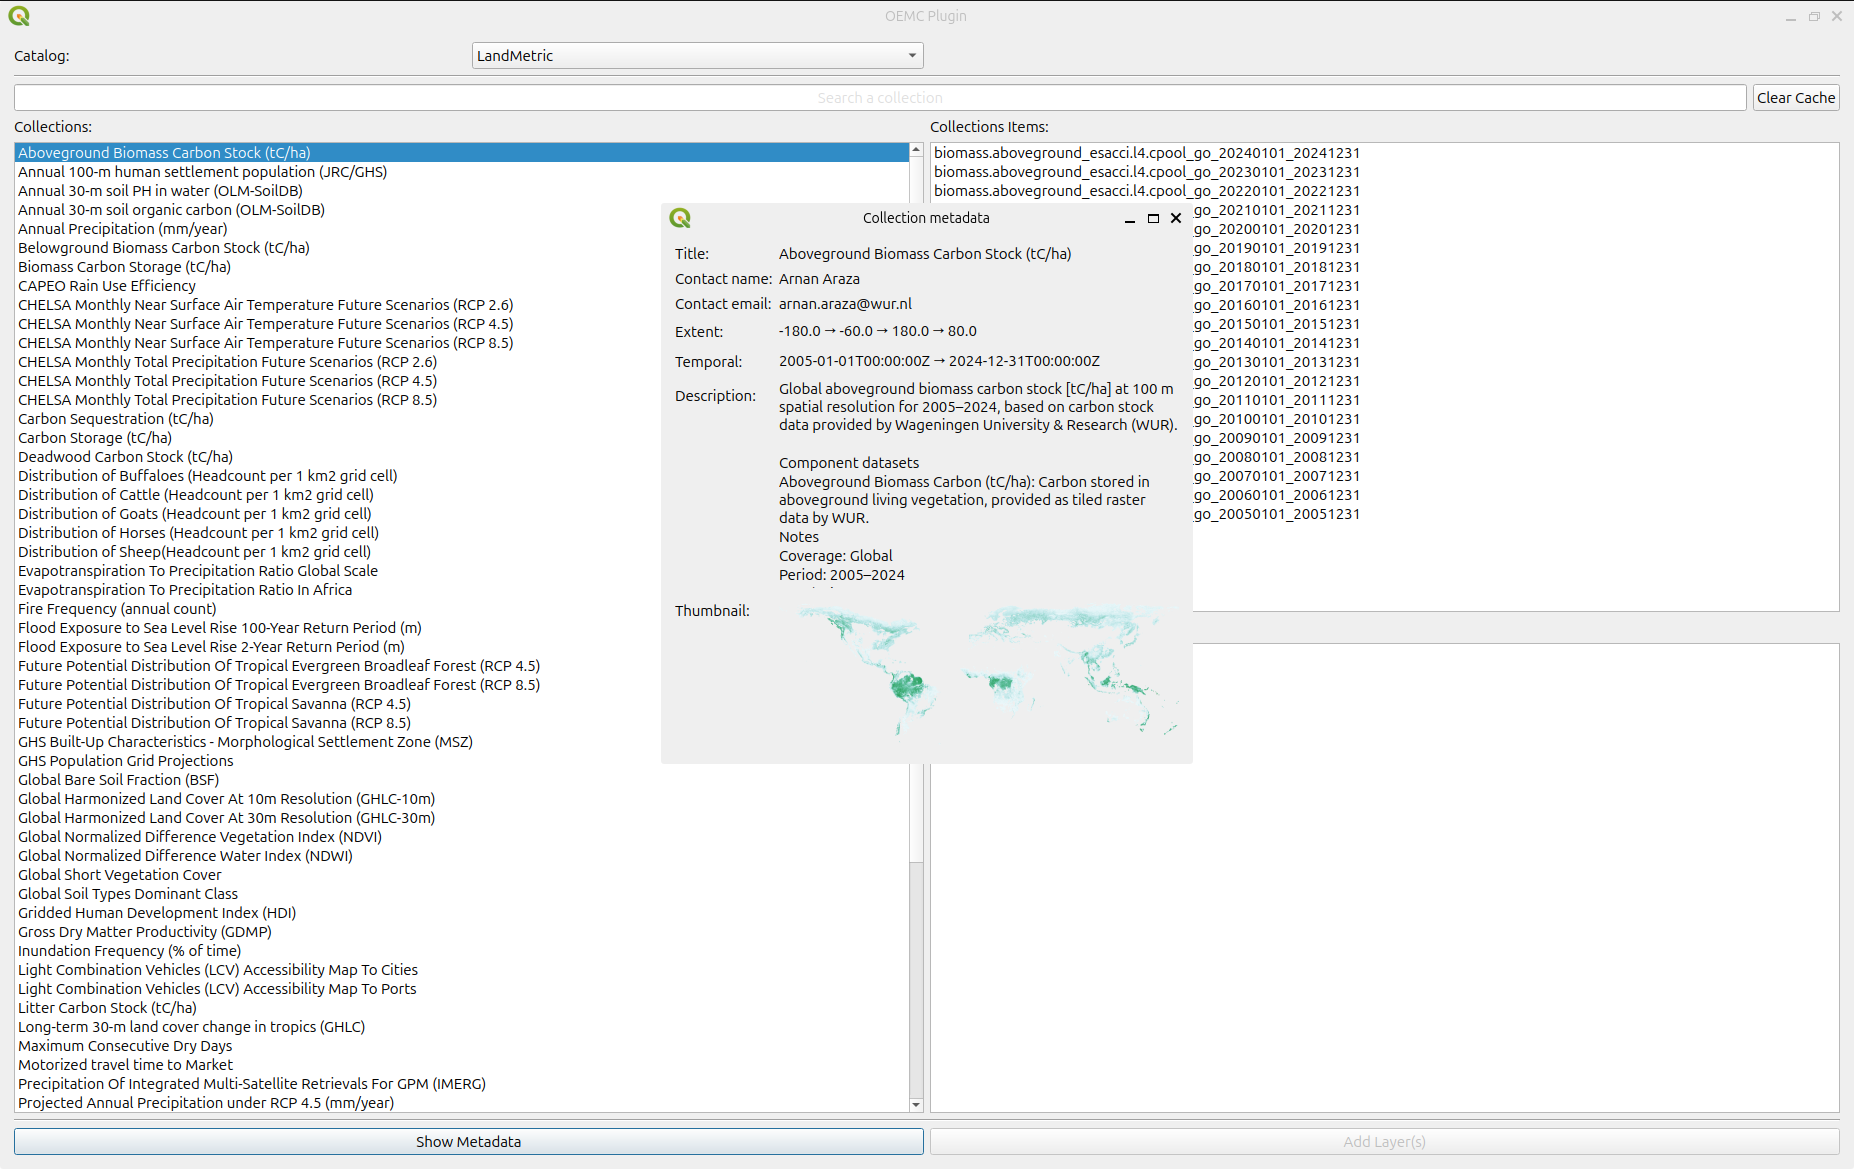
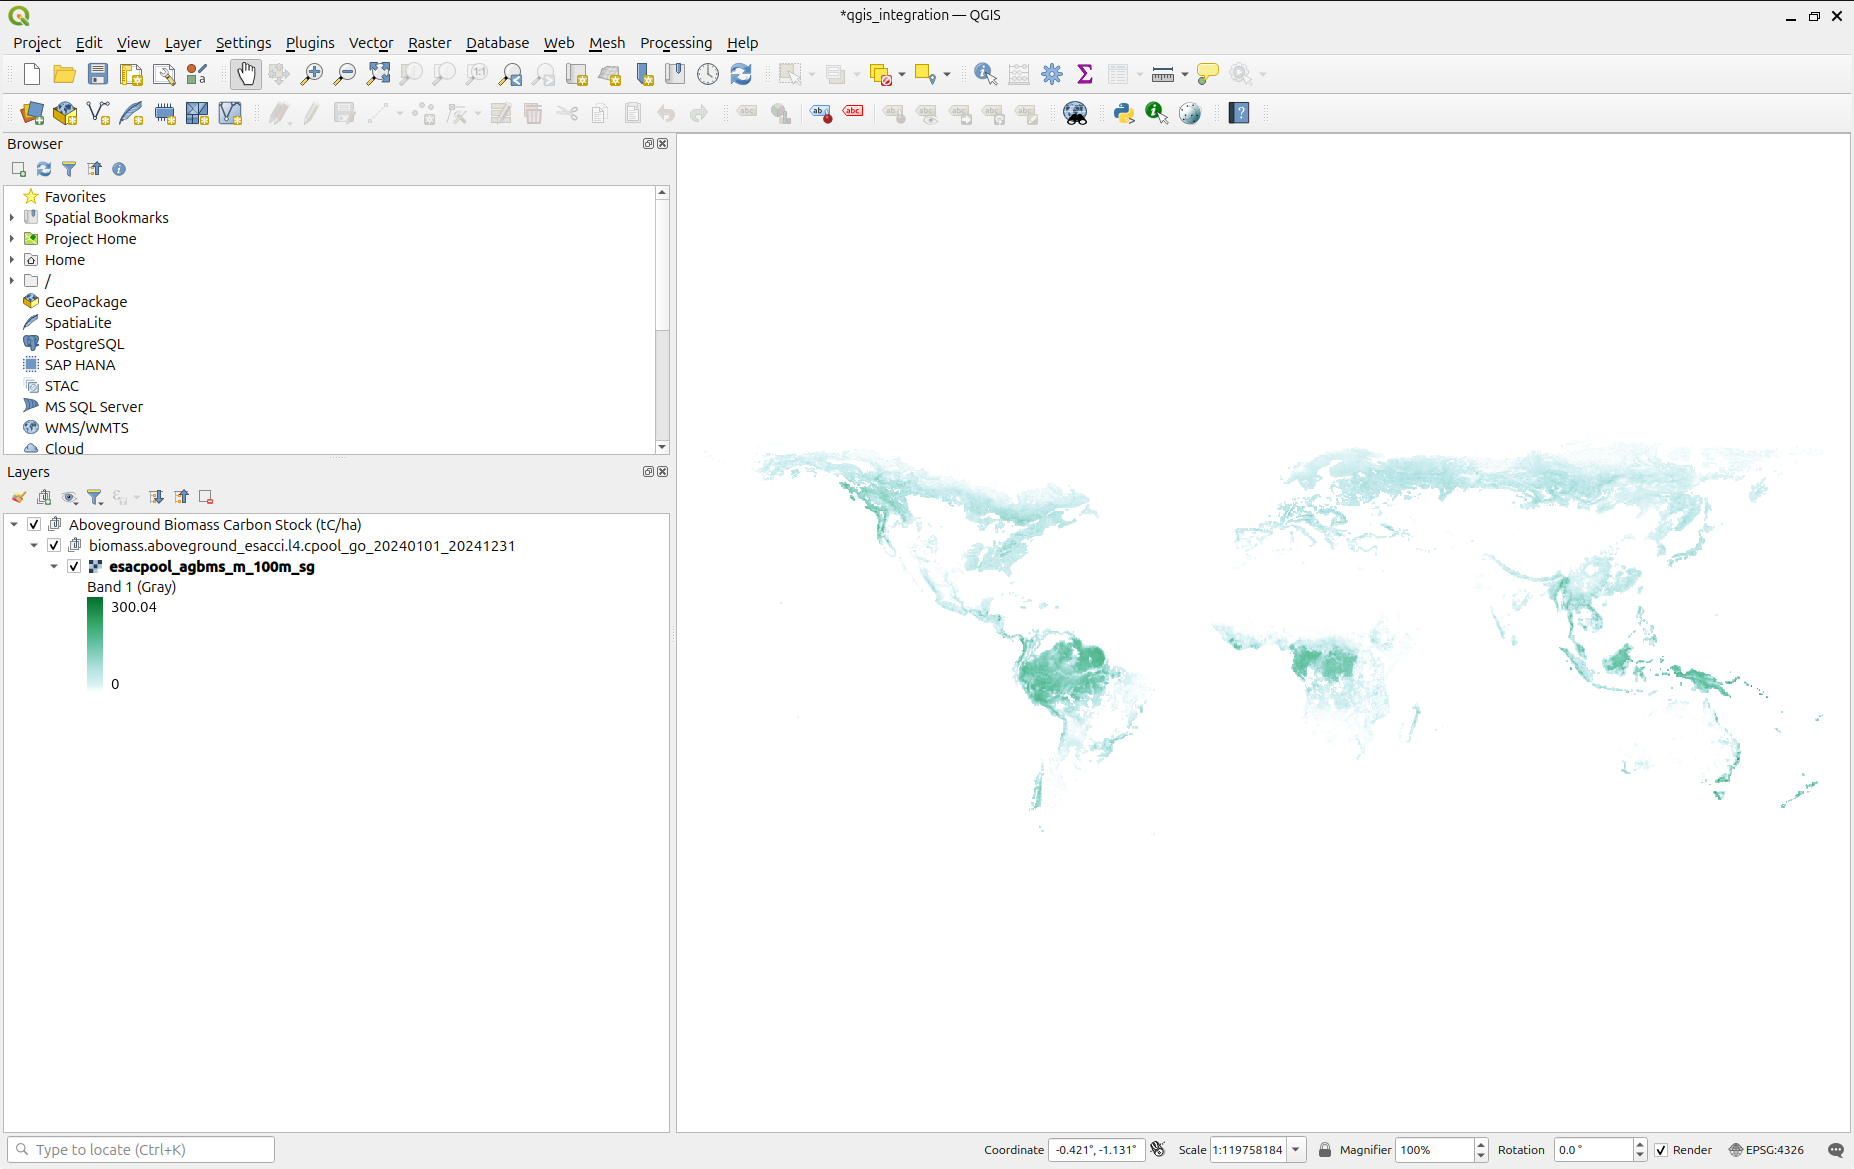
Since this dataset contains data for multiple years, you can select the years you are interested in and click Add Layers. The selected layers will then appear in your QGIS project. They are automatically grouped and loaded with predefined styles. 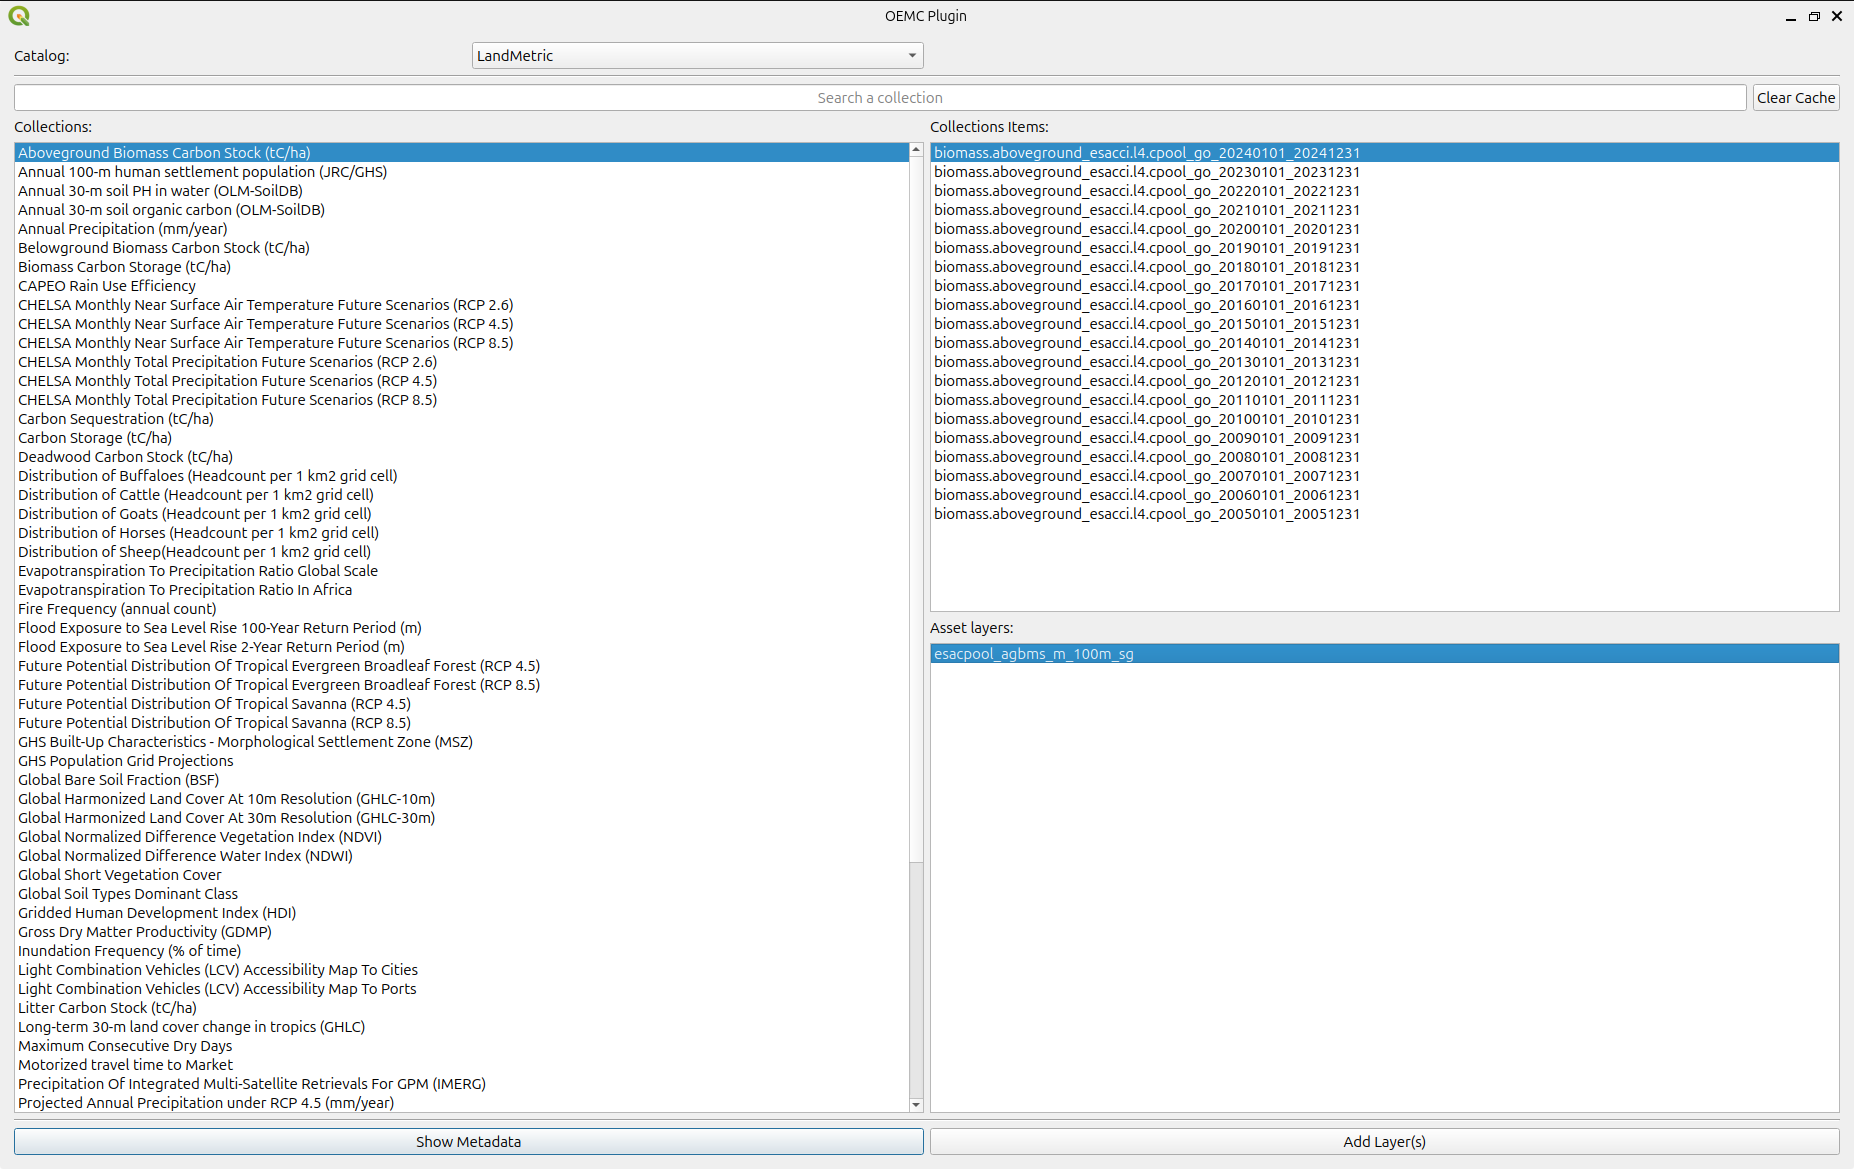
Clip Raster by Extent
Most raster layers available through STAC services have global coverage. If you are only interested in a smaller study area, you can clip the raster to your area of interest.
In QGIS, you can clip a raster layer using either a polygon boundary or a rectangular extent. If you already have a polygon defining your study area, you can load it into QGIS and use it to clip the raster.
In this example, we will demonstrate how to clip a raster using a rectangular extent.
First, select the raster layer you want to clip in the Layers panel.
Use the Magnifier tool  in the QGIS toolbar to zoom to your area of interest.
For example, let's focus on an area in South America. 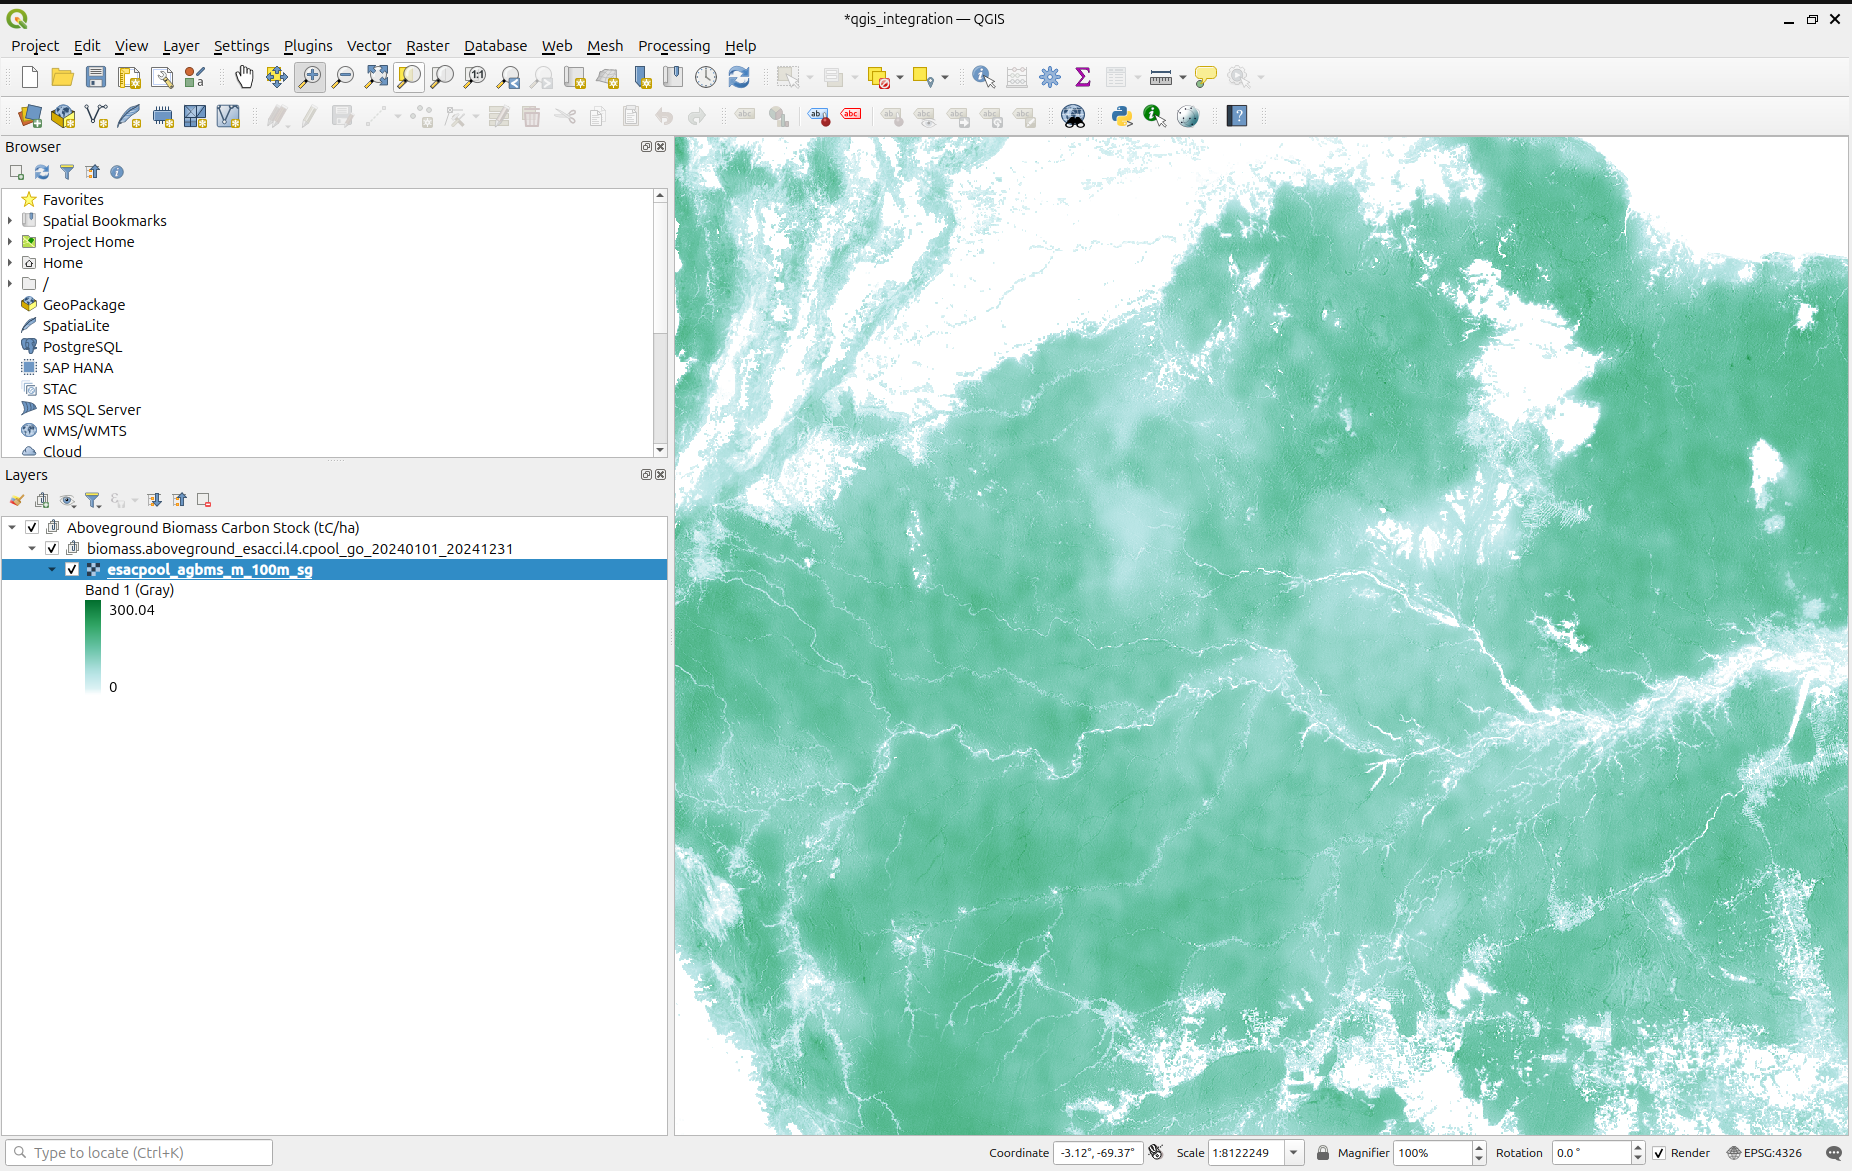
Next, go to Raster → Extraction → Clip Raster by Extent. 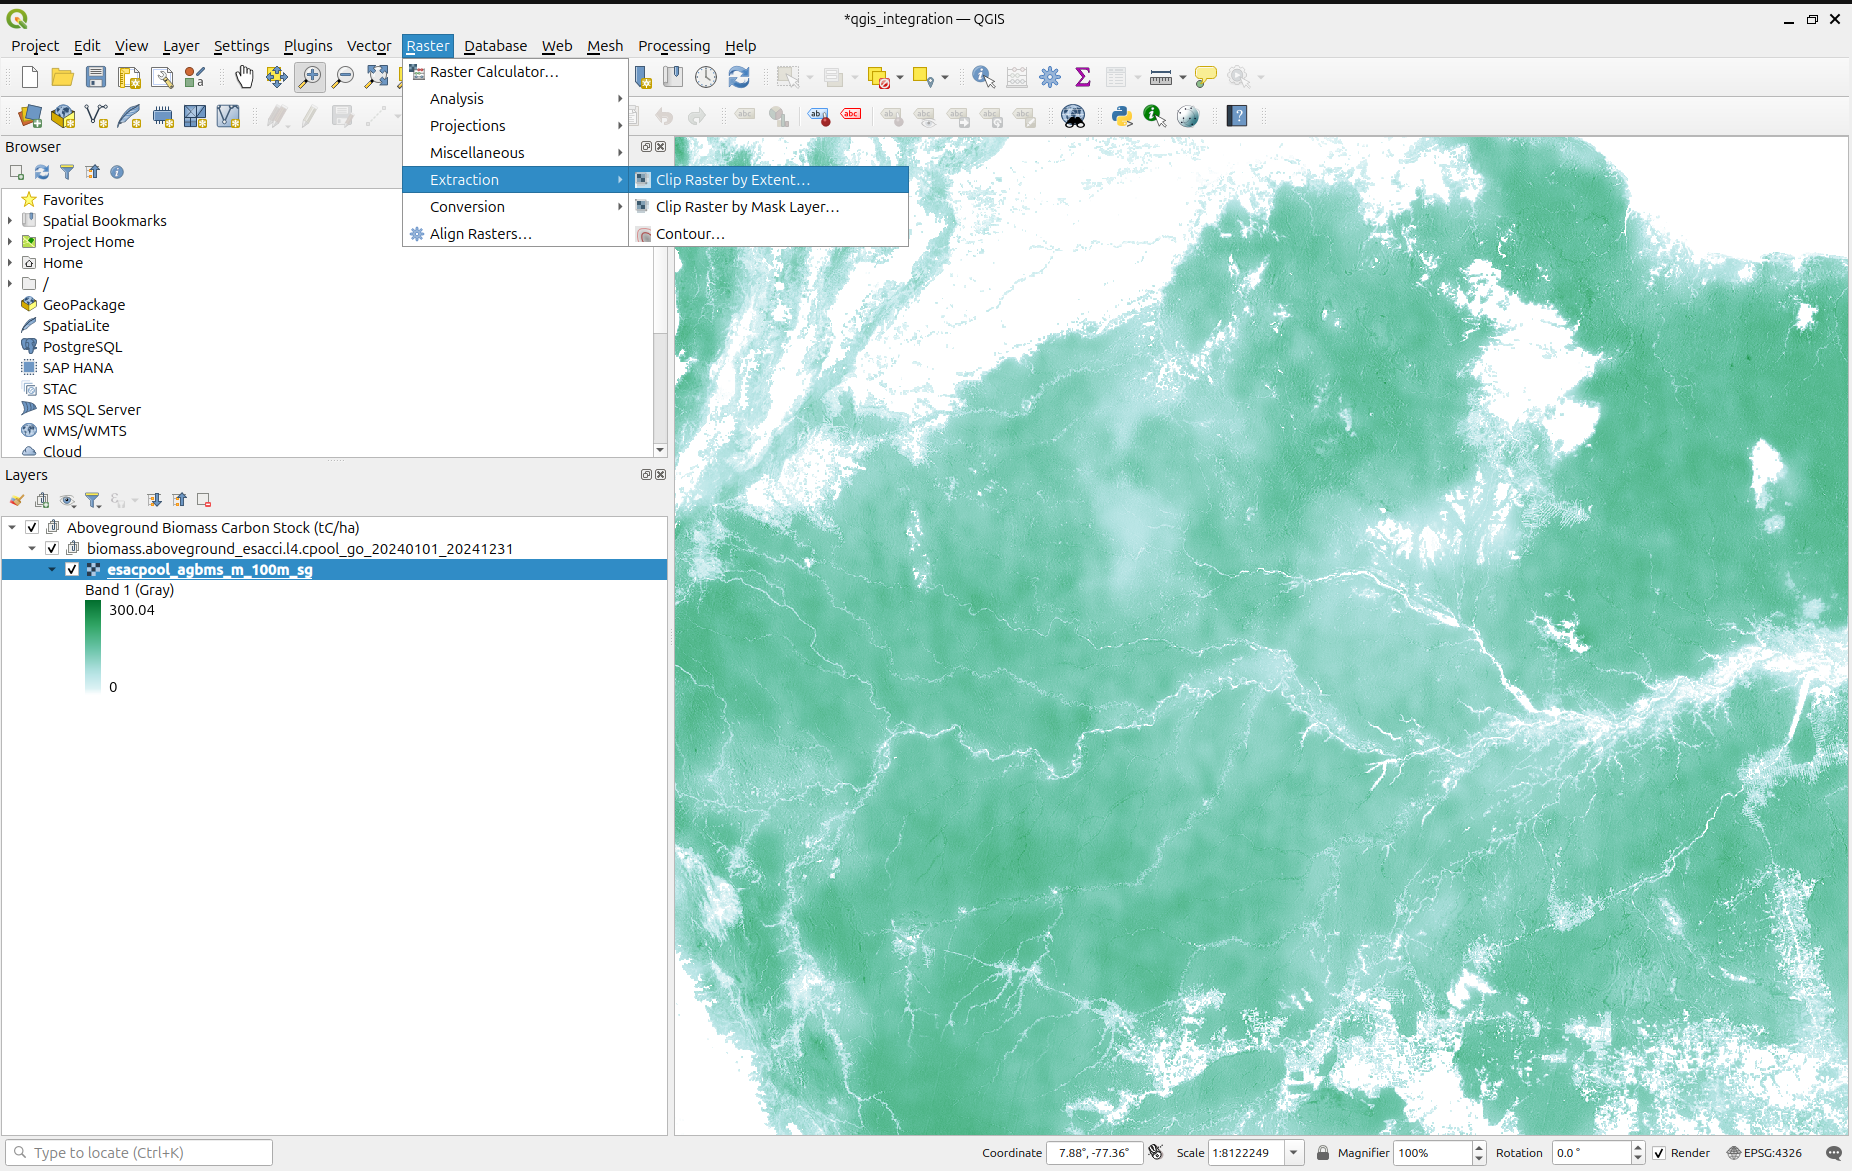
This will open the Clip Raster by Extent tool.
Make sure the Input Layer is set to the raster you want to clip.
Under Clipping Extent, click the dropdown menu. You will see several options:
-Draw on Canvas: Manually draw a rectangular extent on the map.
-Calculate from Layer: Use the bounding box of an existing layer.
-Use Map Canvas Extent: Use the currently visible map extent, where this option is available.
In this example, we will use Draw on Canvas to define our clipping extent manually.
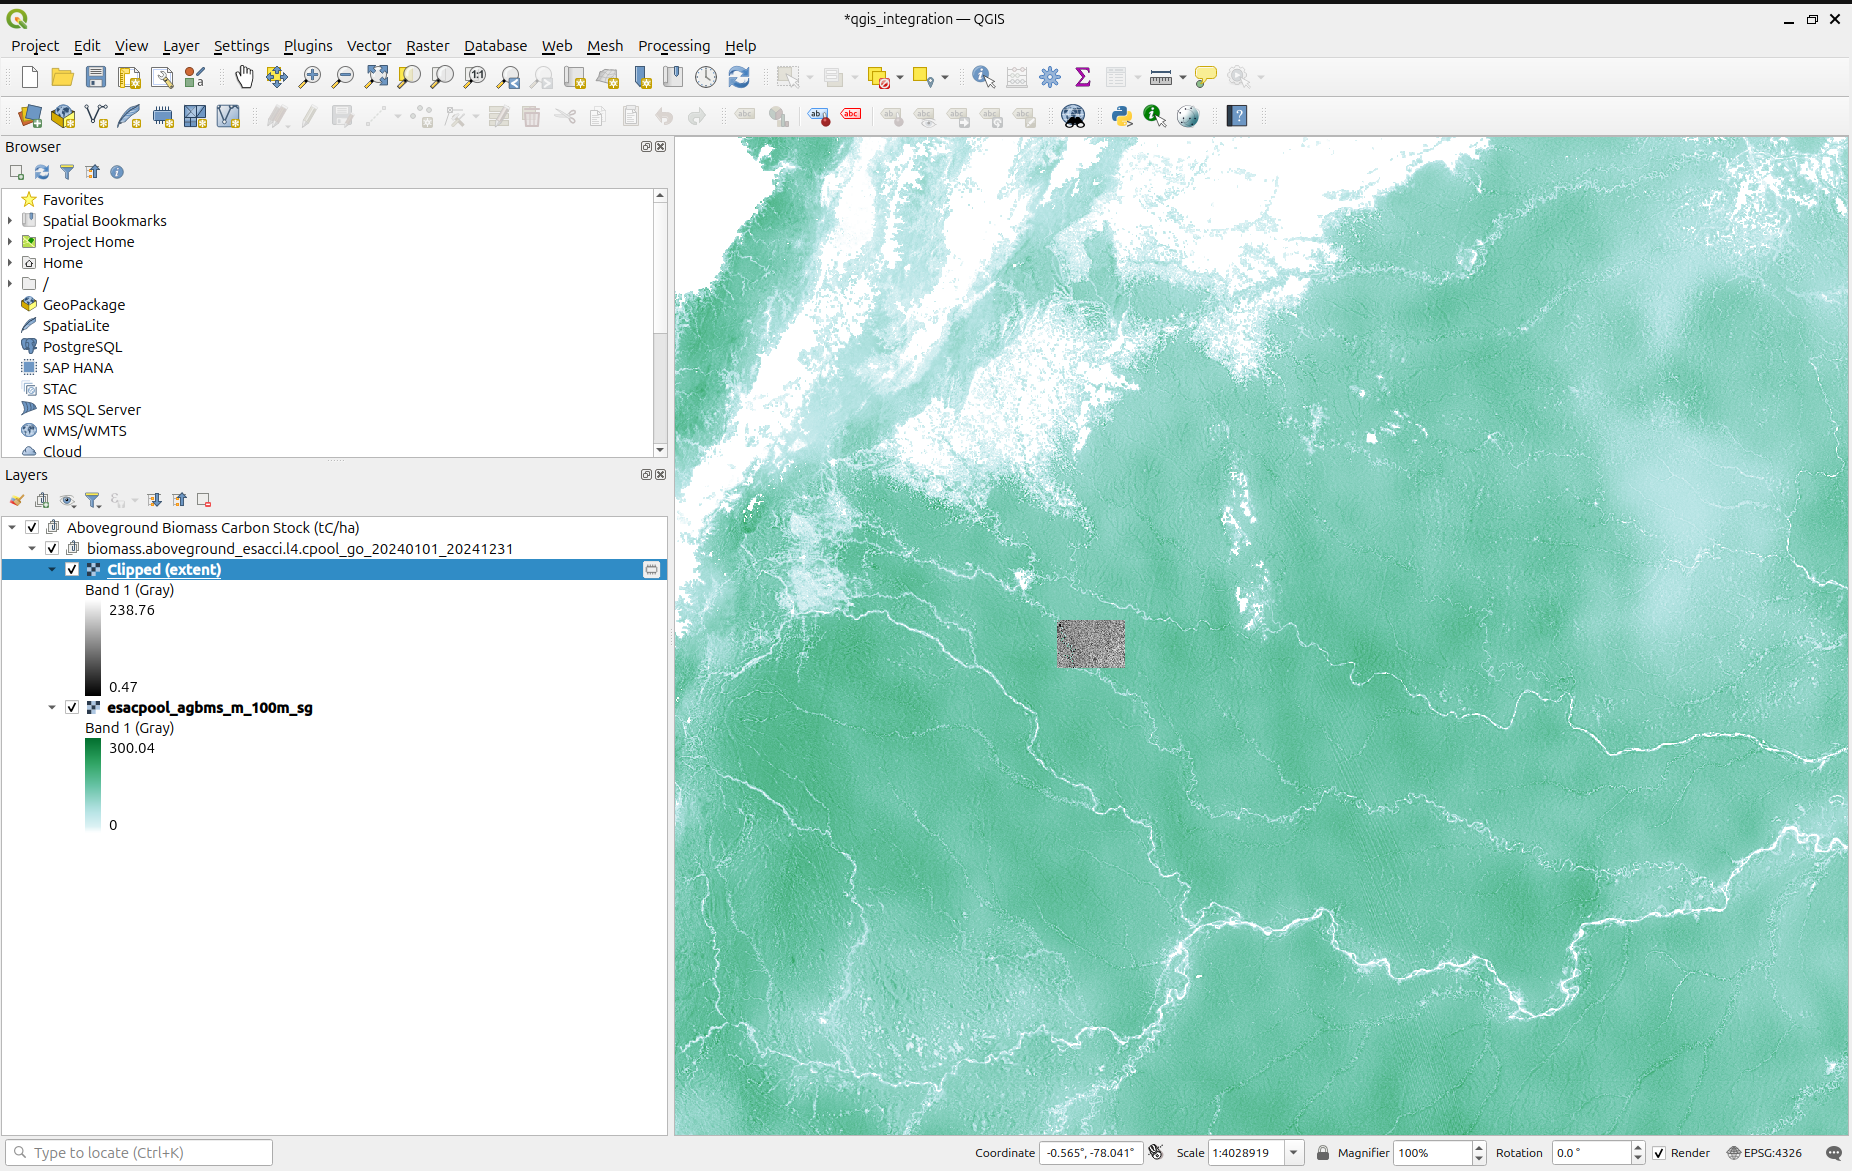
Draw a rectangle over your area of interest, then click Run.
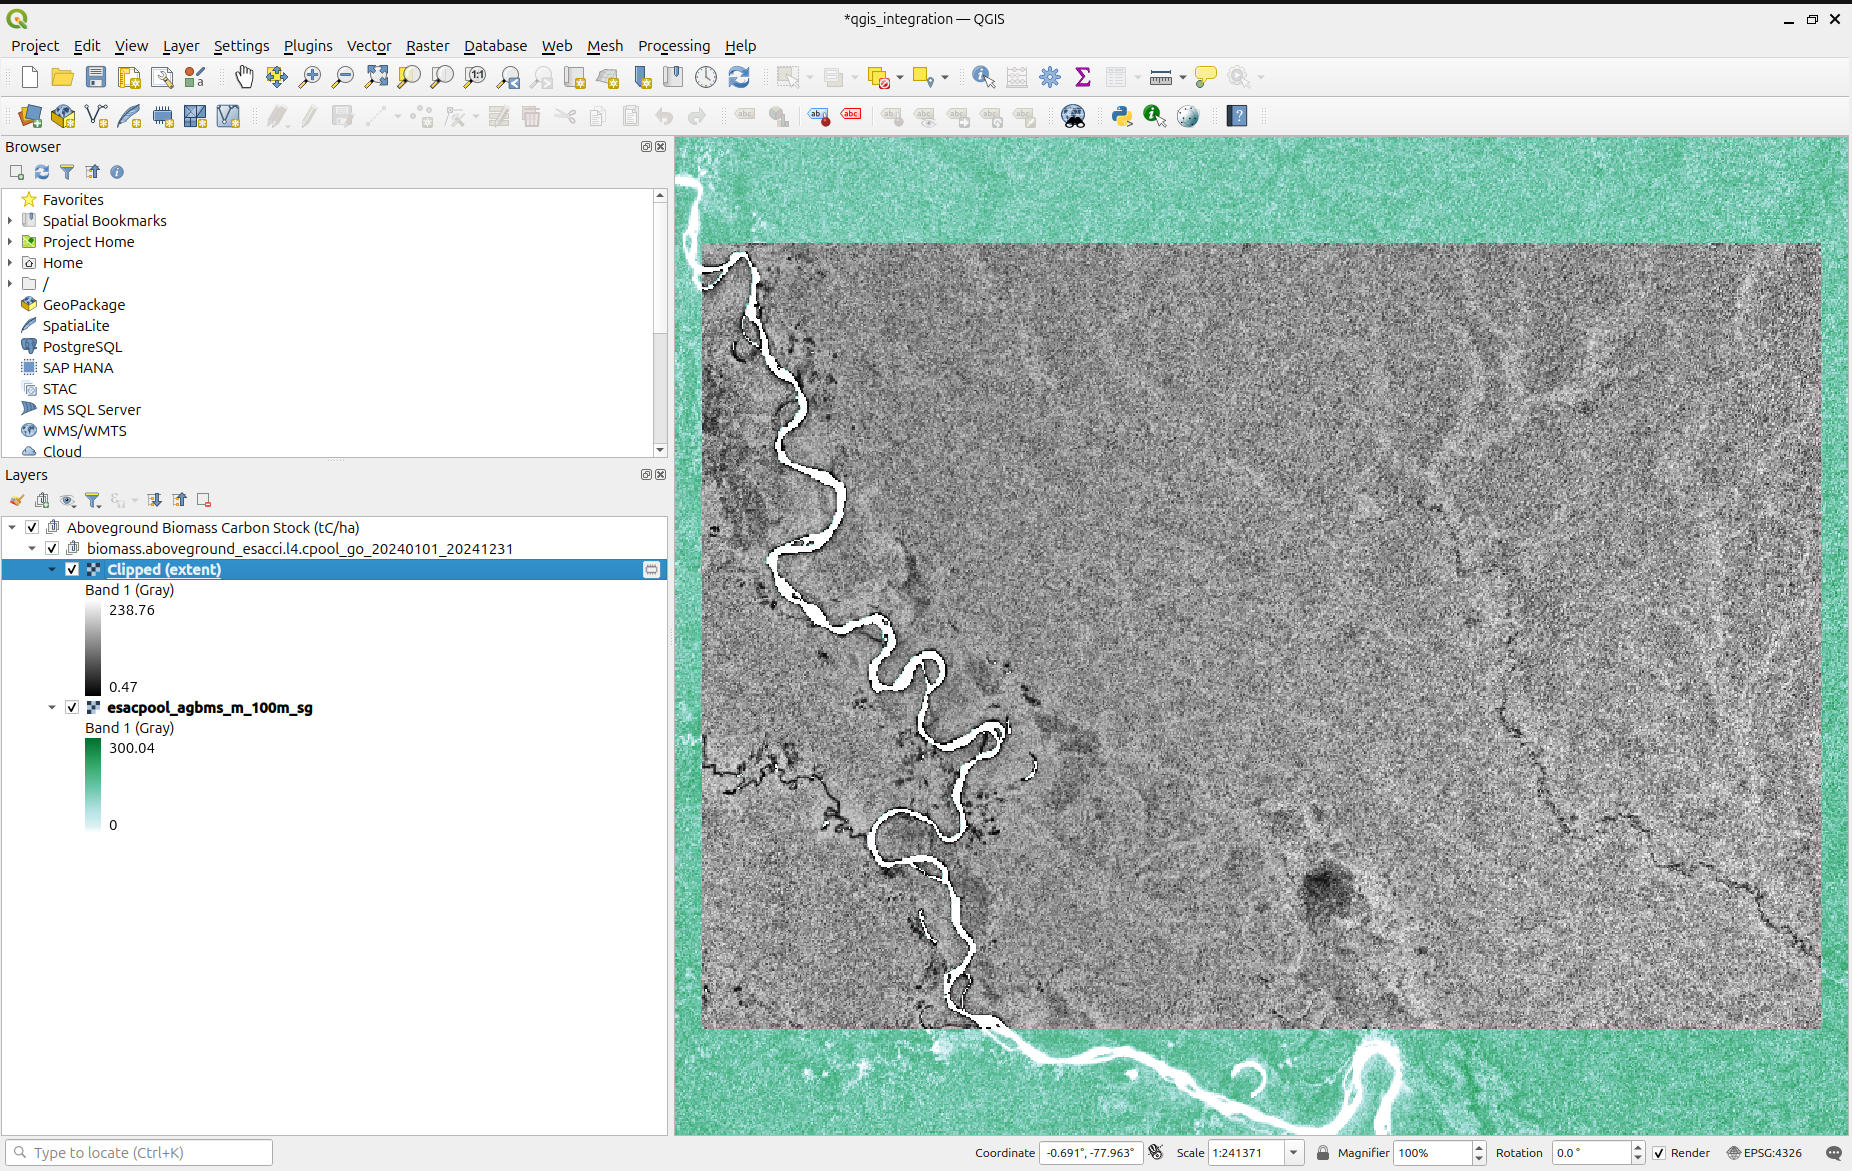
Once the process is complete, a new raster layer clipped to your selected extent will appear in QGIS.
You can also adjust the symbology of the clipped raster to customize its appearance. 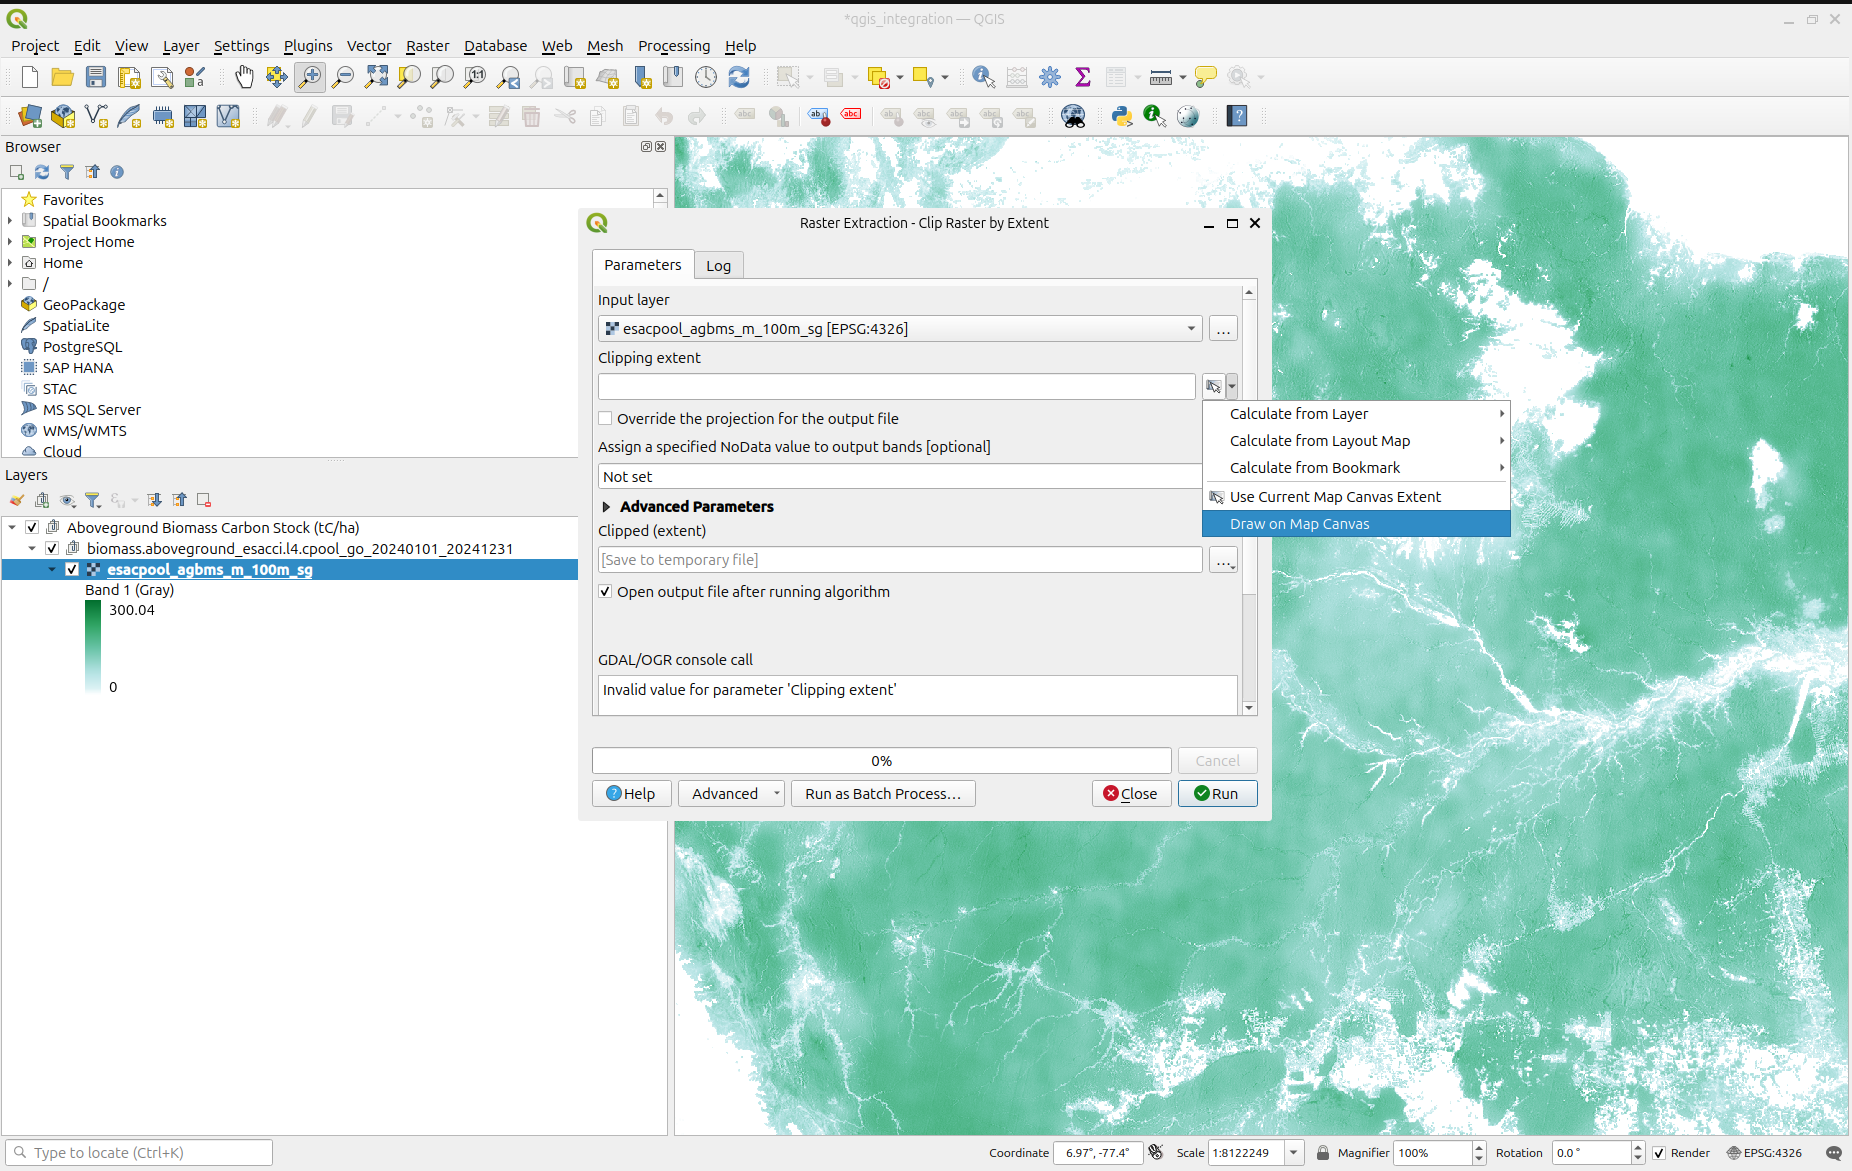
Next: Examples of Analysis →